IoT — going serverless
Author
KalleDate Published

After bringing the software to the cloud last week, this session is all about the next buzzword: Serverless.
Like the "cloud", "serverless" is also a very vague definition and to make it clear from the start, yes there are running servers to run your serverless code. The term serverless describes more the way the services you develop are written, it's one more step on the abstraction layer. I see two ways to do serverless development, the first is based on SaaS products and basically plug and play of different tools. The second one is referenced as functions running in the cloud, which is more of an architecture decision than a new cloud technology. For larger projects these principles enable you to have a very granular and precise encapsulation of responsibility. For smaller projects serverless development enables you to get running really fast, because you don't have to care about any platform or infrastructure. On the other hand giving away all these decisions also strips away flexibility, so always think carefully about your needs before you set down on one tech-stack.
For this course and our sensor project we will use firebase, a service by google, which also has a generous free plan. After authenticating with your google account you can open the firebase console to manage your projects.
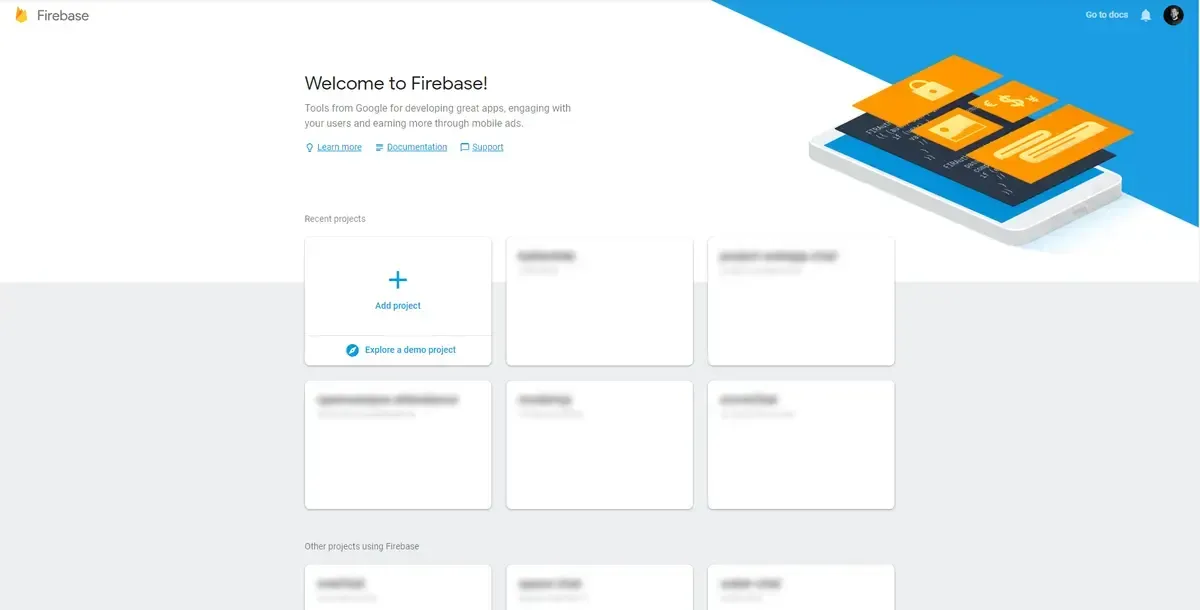
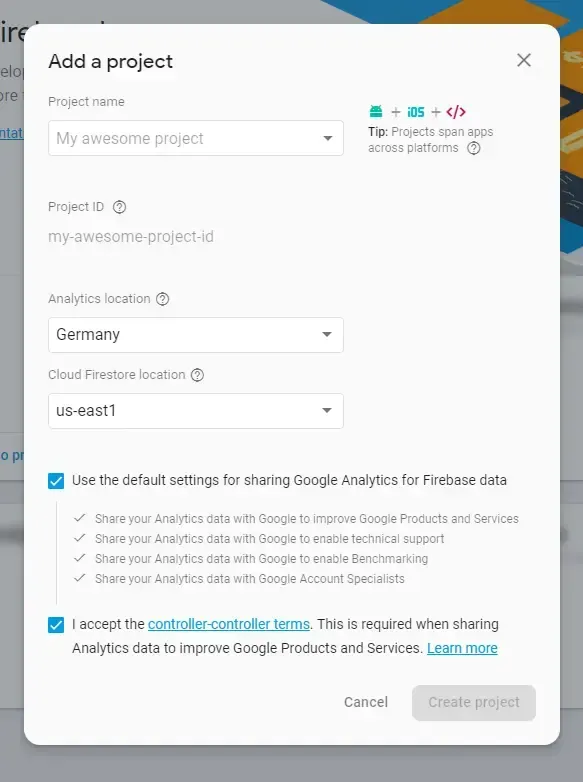
When you add a new project to your firebase account you can decide on some privacy and location settings for your service. But to host some functions, at the moment only the us locations are viable.
With firebase you get an all in one service providing solutions for authentication, database, storage, hosting, functions and even machine learning capabilities. For the sensors project only collects data from the connected sensors so the first migration step from the still file-system based storage solution on heroku is to create a database for your firebase project. To do so select the "Database" section and create a new firestore database (if you aren't sure what you are doing start in locked mode).
To use this database you need the firebase-admin dependency. And you should create a new service account by going to google cloud admin area of your project. The new service account should have the editor role to be able to write data. On the last step create a json key file which will be used to authenticate to the database from the node process. Save the json file to the project folder and add it to a .gitignore file to prevent adding it to a repository.
Before you start working on the actual program you should start by creating the new project on the Raspberry Pi:
Unfortunately right now the protocol (gRPC) to transfer data to and from firebase is not directly compatible with Node.js on ARMv6 and has to be built on the device. After running npm install in the project folder run the command
The rebuild process takes some time (especially on the Raspberry Pi) so I have prepared a zipped node_modules folder with the installed and rebuild dependencies for node v10.14.1 and v11.1.0
node_modules-node10-grpc-armv6.tar.gz
node_modules-node11-grpc-armv6.tar.gz
Now that all dependencies are able to run on the device you can start to setup the connection to the "Firestore" database.
Writing data with firestore is pretty straight forward, you just choose a collection to write to and then either add or set the data:
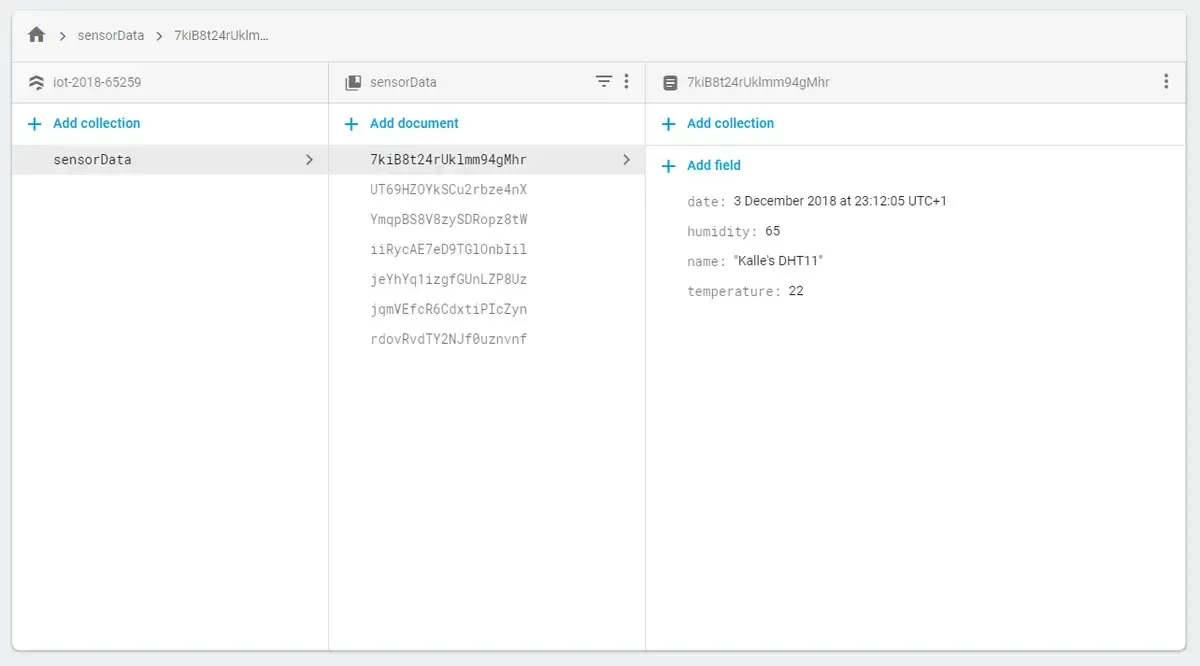
In the firebase console you can now see data added live to your database:
Tasks
- create a firebase app to manage your sensor data
- extend the program running on the Raspberry Pi to write data to the Firestore

IoT — Data visualization
Learn to visualize IoT data by setting up Firebase and using Recharts to create dynamic charts. This guide covers connecting to Firestore, querying sensor data, and displaying it in a React app with interactive graphs.
Mailing List
If you want to receive updates on new posts, leave your email below.