IoT — Internet of things and the cloud
Author
KalleDate Published

Whenever someone talks about the internet of things the cloud is not far. And just as the real thing the cloud in this context has no clear outline. It's one of the buzzwords carrying the heavy burden of being suitable for marketing.
I personally like the definition of of the cloud as a way to hand over the responsibility to manage own servers or services to another entity. It ranges from managed machines, where you still have to care about everything above the operating system, to ready to use pieces of software like cloudmqtt. In modern software development the managed machines are loosing relevance and managed platforms capable of running individual software packed in standardized containers like Docker are getting more important. Besides containerization many platform providers also have a way to just upload the code and decide on the project structure what to run. For example a node program has a package.json file describing all dependencies and there are convention based default "scripts" listed like build, test and start.
If you don't have some really extreme requirements you can freely choose from almost every provider on the market. There are of course the big software companies like Amazon, Microsoft and Google with their cloud platforms but for small projects or experimentation a really good and also free alternative is heroku. On the devcenter.heroku.com/ site there are a lot of tutorials explaining how to run and deploy software written in different languages. Here I will concentrate on the node.js platform and how to transfer the mqtt data server from last session into the cloud. So this will be a short summary of the heroku deploying-nodejs-tutorial.
Running Node.js on Heroku
Prerequisites
- An Heroku account signup.heroku.com
- The Heroku CLI cli.heroku.com/
- git git-scm.com/downloads (here is a short guide to the git fundamentals)
As you might already have thought by the mentioning of git the deployment of a Node.js app to Heroku is based on the versioning tool. So the first step should be to prepare your project to work well with git. The most important part here is to tell git which files should be ignored and don't have to be tracked (mainly the node_modules folder). To do so just add a file called .gitignore to your project folder, and list all files and folders you want to ignore:
After the preparation for git you can initialize a git repository inside this folder with the git init command. With the git add * command all files with a change are "staged", the git commit -m "Commit message" finally adds the changes to the version history of the repository. Although it is important to know those fundamentals and basic git commands it is a lot easier to use with a graphical user interface, like the one embedded in visual studio code.
The next step is important for Heroku to digest your project. The used dependencies are already listed in the package.json and will be installed automatically:
Now it is important to tell Heroku how to start the server application, that's done by adding the "start" script, which should already be present in the mqtt project from the "micro" package which uses the main file from the project to start a microservice, but the command needs the parameter to know on which port to listen:
As the last step tell Heroku what version of Node.js to use:
Now with all this information it's time to work with heroku itself. Use the command heroku login to authenticate with your personal account. To create a new app you can either use the web-interface dashboard.heroku.com/new-app or the cli with the command heroku create. The CLI command automatically links the remote git repository used for deployment. If you used the web-interface you still have to link it by using the heroku git:remote -a HEROKU_APP_NAME command.
Before you start committing all changes to your git repository you have to make sure to remove all account information from your code. Once it is under version control it is hard to get rid of the publicly available information. A good way to do so is replacing the hard coded values with references to environment variables. On Node.js you can access the environment through process.env.YOUR_VARIABLE_NAME.
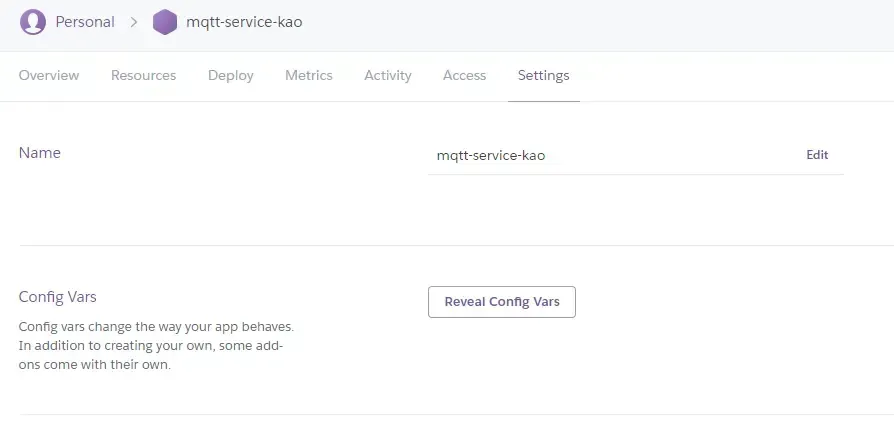
You can edit the environment variables for your heroku app in the web interface.
Now you can deploy your application to a server managed by Heroku with just one command:
Tasks
- replace any account information in your code with environment variables
- prepare your mqtt-server project folder for git and heroku
- create a new heroku app
- run your application on heroku

IoT — going serverless
Explore the benefits of serverless architecture for IoT projects, focusing on using Firebase for real-time data management and deployment. This guide covers setting up Firebase, authenticating with Google, and migrating from traditional storage solutions to a serverless approach for efficient, scalable applications.
Mailing List
If you want to receive updates on new posts, leave your email below.